Rail code: the height of the rail
thousandths of an inch“Code 83” means the rail is 0.083 inches tall. That is all it means. It is not a quality rating, and the taller codes are not stronger in any way that matters at 350 grams per wagon — they are simply out of scale.
Pre-1990 models and cheap starter stock often have deep “pizza cutter” flanges that bump along the sleepers of code 70 and code 55 track. Modern RP-25 wheels are fine on anything. If your fleet is old, either re-wheel it or stay with code 83/100.
Three ways to buy track
Sectional
Fixed straights and fixed-radius curves that clip together. Instant, rigid, geometrically limited — and every joint is a potential dead spot. Perfect for a temporary oval, restrictive for anything permanent.
Flexible
A metre-long strip that bends to whatever radius you want. One joint per metre instead of one every 22 cm, smoother curves, cheaper per metre. This is what most layouts are built from.
Handlaid
Individual rail spiked or soldered to sleepers on the board. Total freedom of geometry, beautiful results, slow. Jigs (Fast Tracks and similar) make handbuilt turnouts genuinely achievable.
Kato Unitrack, Tomix Fine Track, Bachmann E-Z Track and Hornby track-mat systems clip together with the ballast shoulder moulded on. They are unbeatable for a layout that must be packed away, for a floor railway with children, or for testing a plan before you commit — and they run superbly. The compromise is appearance and price per metre.
Curves, overhang and easements
Radius is measured to the centre-line of the track. Two things go wrong on tight curves, and neither is the wheels falling off: the middle of a long vehicle swings inward, and its ends swing outward. That is why a 60 ft coach on an 18 inch curve will sideswipe a passing train even though both are perfectly on the rails.
| HO / OO radius | Metric | What runs on it |
|---|---|---|
| 15″ (set track) | 381 mm | Four-wheel wagons, small tank engines, short diesels. Everything else looks wrong and some of it derails. |
| 18″ | 457 mm | The classic minimum. 40 ft freight cars, 4-axle diesels, most British outline. |
| 22″ | 560 mm | Comfortable. 50 ft cars, six-axle diesels, medium steam. A good target for a first layout. |
| 26–30″ | 660–760 mm | Full-length passenger coaches and big articulated steam start to look and run properly. |
| 36″+ | 915 mm+ | Anything, gracefully. Main-line curves at this radius read as sweeping rather than toy-like. |
For N, divide by roughly 1.8 (18″ HO ≈ 10″ N). For O, multiply by 1.8.
Turnouts, part by part
a.k.a. points, a.k.a. switchesA turnout is not a “Y” of track: it is a precise assembly of six named parts, and knowing the names turns most derailments into a diagnosis rather than a mystery.
What the number means
A #6 turnout diverges one unit sideways for every six units forward. Bigger number = shallower angle = longer turnout = happier long vehicles.
| Number | Frog angle | Length in HO | Use it for |
|---|---|---|---|
| #4 / Peco small | 14.25° | ≈ 5″ / 127 mm | Tight industrial trackwork and yard ladders where space is desperate. Long vehicles complain. |
| #5 | 11.42° | ≈ 7″ / 178 mm | A good compromise for yards and branch termini. |
| #6 / Peco medium | 9.53° | ≈ 9″ / 229 mm | The default. Handles everything most people own. |
| #8 / Peco large | 7.15° | ≈ 12″ / 305 mm | Main-line junctions and crossovers taken at speed. Looks glorious, eats space. |
| #10 and up | 5.7° | 15″+ / 380 mm+ | High-speed prototype junctions. Rare in models outside exhibition layouts. |
A crossover between two parallel tracks is two turnouts back to back — and the short piece of track between them forms an S-curve. Use one number larger than you think you need, or a purpose-made double slip if space is really tight.
Frogs: the one electrical decision in trackwork
At the frog, two rails of opposite polarity converge to a point. Something has to give, and the three answers define how the turnout is built:
Insulated / dead frog
Peco “Insulfrog”, most set track. The vee is plastic, so nothing shorts. Wiring is trivial. Short-wheelbase locomotives can stall on the dead section, and very fine wheels can bridge the two rails right at the tip.
Live / powered frog
Peco “Electrofrog”, Atlas Custom-Line, all handbuilt. The vee is metal and gets its polarity switched to match the route set. No dead spot at all; needs a switch, a frog juicer or a point motor with a spare contact.
“DCC friendly”
Modern versions of both, rewired so the point blades are not relied on to carry current and the closure rails are isolated. If you are buying new, buy these.
An automatic frog juicer detects the momentary short as a wheel enters a live frog and flips the polarity in milliseconds. Two wires, no mechanical linkage, and it makes hand-thrown turnouts behave perfectly.
Gradients: the arithmetic nobody does first
A gradient is rise divided by run, as a percentage. Model locomotives have far less adhesion than the real thing — no sand, no 100-tonne axle loads — so a grade that a prototype shrugs at will stop a model dead.
| Grade | Run for 3″ of clearance | Verdict in HO |
|---|---|---|
| 1% | 25 ft / 7.6 m | Barely noticeable. Trains behave exactly as on the flat. |
| 2% | 12 ft 6 / 3.8 m | The usual practical maximum. A locomotive pulls roughly half what it manages on the level. |
| 3% | 8 ft 4 / 2.5 m | Steep. Fine for a short branch train, painful for anything long. Doubling and banking become necessary — which some people consider the fun part. |
| 4%+ | 6 ft 3 / 1.9 m | Narrow-gauge and logging territory only. Expect slipping and stalling with ordinary stock. |
Friction on a tight curve behaves like extra gradient — roughly an extra 0.5% for an 18″ radius in HO. A 2% grade on a curve is really a 2.5% grade, which is why the classic mistake is putting the steepest climb on the tightest bend. Also ease the vertical transitions: a sudden change from level to climb will lift the middle of a long locomotive off the rails and unclip couplers.
Laying track that stays laid
- Draw the centre-line on the board. Use a trammel — a strip of wood with a pin at one end and a pencil hole at the radius you want. Two minutes, and it guarantees a true curve.
- Glue the roadbed with latex caulk, not nails. A thin bead spread with a scrap of card, then weighted with tins overnight. Caulk stays slightly flexible, is silent, and releases with a putty knife if you change your mind.
- Stagger the rail joints. Cut one rail of a flex-track length shorter so the two joints do not coincide. A pair of joints side by side is a hinge.
- Solder rail joiners on curves before bending the track, then bend the soldered pair as one. On straights, leave the joiners unsoldered and a hair's gap for expansion — especially in a loft or garage where temperature swings.
- Drop feeders from every length. 22–24 AWG wire soldered to the outside web of the rail, through a hole, to the bus below. Solder quickly with a hot iron so you do not melt the sleepers.
- Check gauge as you go with an NMRA or NEM gauge, especially through turnouts and at the ends of curves.
- Run the worst vehicle you own over it, slowly, in both directions. A long four-wheel wagon with one slightly bent axle is a better test than a smooth bogie coach. Fix everything now.
Four track plans that work
Drawn in HO/OO. Each will shrink to N at roughly 55% of the dimensions, or grow to O at about 180%.
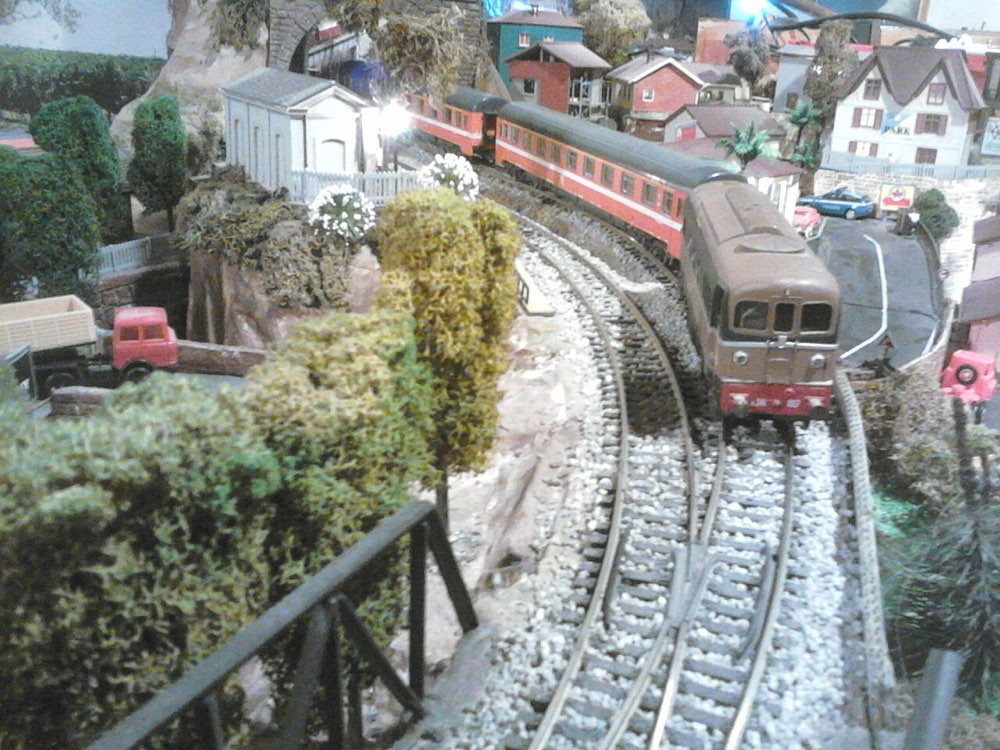

Nine rules of thumb for designing your own
- Write the givens and the druthers. John Armstrong's phrase: the givens are fixed (the room, the scale, the budget), the druthers are what you'd rather have. Design to the givens; spend the leftovers on the druthers.
- Longest train first. Decide the maximum train length, then make every siding, loop and staging track hold it. A layout where nothing quite fits is exhausting to operate.
- Aisles before track. Draw the walkways, then fill what's left.
- Nothing further than 75 cm from an edge. If a plan needs a deeper reach, it needs a duck-under or a different plan.
- Selective compression. A real grain elevator is 40 metres long. Model the two ends that say “grain elevator” and leave out the middle.
- A view block is worth two metres of track. A ridge, a row of buildings or a backdrop divider makes one line feel like two places.
- Put turnouts where you can reach them and where a stalled locomotive is not behind a tunnel mouth.
- Hidden track will fail. Design access to every centimetre of it before you build the scenery on top.
- Build a section, finish a section. A metre of completed railway is worth ten metres of bare track for keeping you interested.