Benchwork: the furniture nobody sees
Three requirements, in order: flat, rigid, light enough to move. A baseboard that twists by two millimetres will pull your track out of gauge and you will spend a winter blaming your locomotives.
Open grid
A rectangle of 75 × 20 mm timber with joists across it, topped with ply. Simple, strong, and easy to cut a valley into because the top is not structural.
L-girder
Linn Westcott's system: two boards glued into an L, spanning long distances with risers screwed from below. Nothing is fixed until you decide it is — ideal for a big layout you will change your mind about.
Foam and frame
A light timber frame with 50 mm extruded foam as the deck. Feather-light, silent, carvable with a bread knife, and it will not warp. Needs a rigid frame to stop it flexing.
Build even a permanent layout as two or three bolt-together sections, no longer than a doorway. Every layout eventually has to leave the room — for a house move, a redecoration, or an exhibition — and the ones that cannot are the ones that end up in a skip.
Height and reach
Making terrain
Landscape is a shell. You are building a thin crust over empty space, and the two standard methods differ only in what holds the crust up.
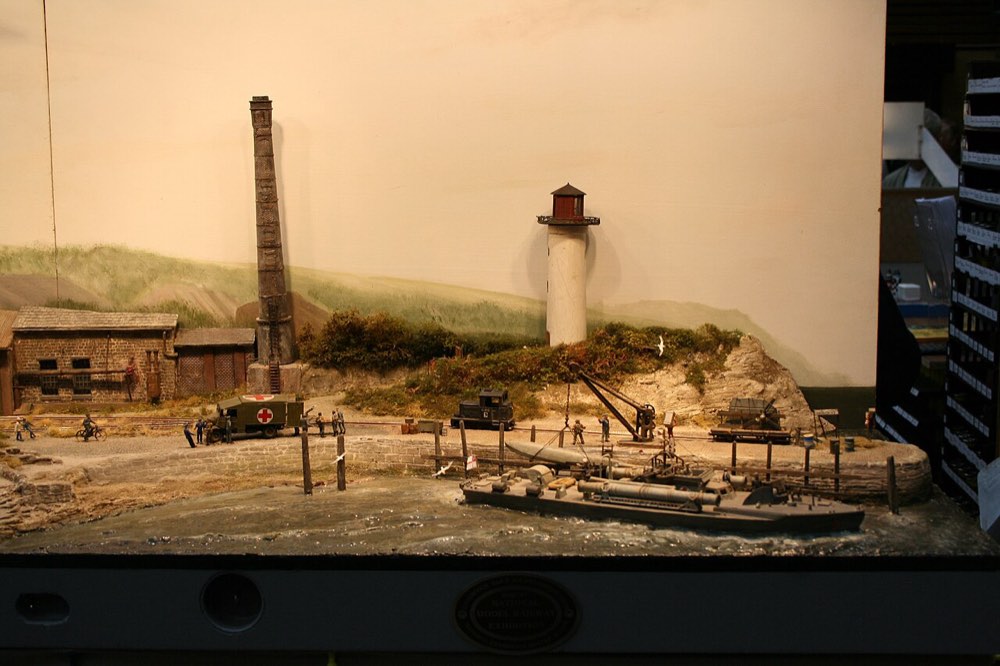

Get the shapes right before you worry about materials. Real ground almost never meets the track at a constant angle: there are cuttings, embankments, ditches, and flat shelves where a farmer levelled something. A layout where everything slopes away at 30° reads as a train set with a green blanket on it.
Ground cover, in layers
- Paint the base. Any cheap emulsion in a dull earth brown. Never leave white plaster or pink foam showing — a chip in the scenery later will be invisible instead of glaring.
- Sift real soil through a tea strainer onto wet paint. Bake it first if you are squeamish. Nothing sold in a packet looks as much like dirt as dirt.
- Ground foam in two or three shades, sprinkled unevenly — never a single colour, never uniform depth. Fix with dilute PVA (1 part glue, 3 parts water, one drop of washing-up liquid) applied through a pipette after a light misting of the same wetting water.
- Static grass last. An applicator charges the fibres so they stand upright. Work in patches of different lengths and colours; a field is not one crop.
- Then take it away again. Scrape paths, add bare patches where feet or wheels would wear, and put a dead brown fringe along the ballast shoulder where weedkiller was sprayed.
A drop of washing-up liquid in a spray bottle of water breaks the surface tension so the glue soaks in instead of beading up and floating your scenery away. It is the single most useful two-ingredient recipe in the hobby.
Ballast
slow, fiddly, transformativeBallast is the single change that makes track stop looking like a product. It is also the one most often overdone — the classic error is burying the sleepers so the track sits in a trough of gravel.
- Spread it dry along the track, a teaspoon at a time.
- Shape it with a soft brush — off the sleeper tops, into the gaps between them, down the shoulder. Take your time; this is the step that decides how it looks.
- Check every turnout. Keep ballast away from point blades and out of the throwbar. One glued crumb there will jam the turnout permanently.
- Mist with wetting water until damp, not flooded.
- Drip on dilute PVA from a pipette, letting it wick along. Do a metre at a time.
- Leave it 24 hours and do not be tempted to touch it. Then vacuum up the strays through a piece of stocking over the nozzle.
Water
Model water is convincing when it is dark, opaque and glossy — never blue, never clear to the bottom unless the bottom is beautifully modelled. Paint the bed first: dark brown-green at the deep end, sandy at the edges, then pour or brush the surface.
Gloss medium
Acrylic gloss gel brushed on in thin coats. Cheap, safe, no fumes, dries in hours, and you can stipple ripples into the last coat with an old brush. Best for streams and canals.
Two-part resin
Pours a genuinely deep, glass-flat surface. Needs a leak-proof dam, patience, and respect: it is exothermic, it smells, and it will find the one gap you missed and run onto the floor.
Ripples and wake
A final skim of gloss medium dragged with a cocktail stick, plus a little white paint at the bow of a boat and against pilings. Movement is what sells it.
Trees, hedges and the tyranny of the treeline
Trees are the scenic element people notice most and get wrong most. Two rules fix nearly everything:
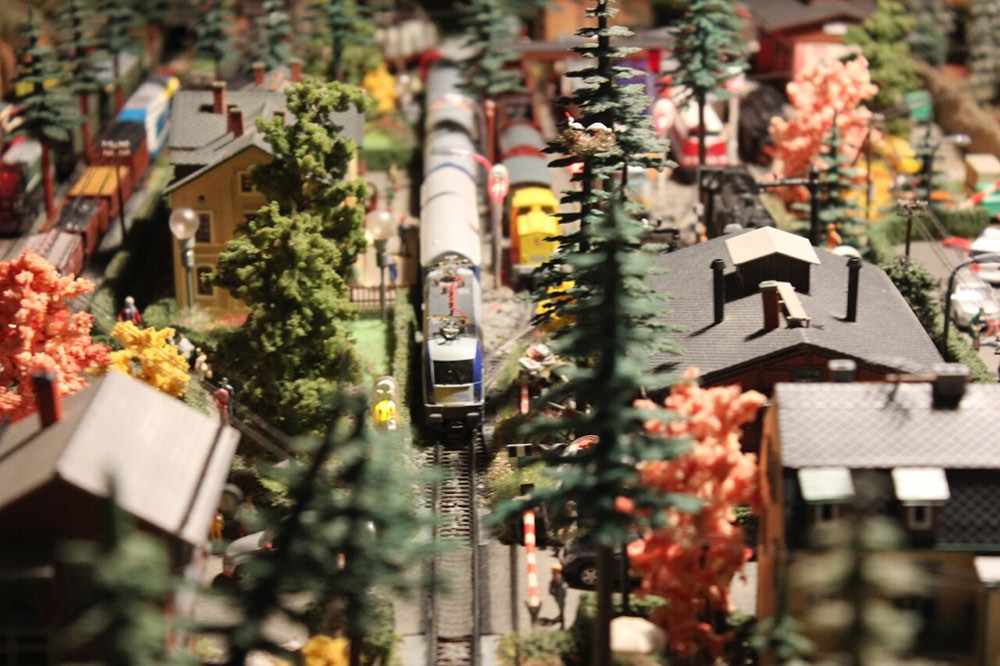

- Vary the height. A wood is not a plantation. In HO, mix 60 mm saplings with 140 mm mature trees and let a couple lean.
- Make the near ones good and the far ones cheap. Detailed armatures with real bark texture at the front edge; balls of teased-out foam behind. Nobody looks at the back row.
Sea foam, wire armatures, and the flowering stalks of sedum all make excellent trunk structures. Cover with rubberised horsehair or fine foam, and always darken the trunk colour — real bark is grey-brown, not the orange of raw plastic.
Structures and backdrops
Cut two identical kits apart and glue them back together longer, taller or narrower and you have a building nobody else owns. It is also how you fit a 40-metre prototype into a 25-centimetre space: keep the distinctive end walls, throw away the middle.
Weathering
less than you thinkReal railway equipment is dirty in specific, repeatable ways: dust rises from the ground up, rain streaks run vertically from every ledge, rust starts at seams and fastenings, and exhaust deposits sit on the roof. Random grime looks like an accident; targeted grime looks like weather.
- Start with a wash. Very dilute dark brown or grey acrylic flooded over the model and wiped back off the raised surfaces. It settles in the panel lines and instantly reveals the detail.
- Dust from below. A pale earth colour, airbrushed or dry-brushed upward from the solebar. Roughly the bottom third.
- Streaks from above. Thin vertical strokes downward from roof edges, hatches and rivet lines, then blended with a damp brush.
- Rust where water sits. Seams, door tracks, ladder feet, the ends of a hopper. Weathering powders are ideal — and if you hate it, they brush straight off before you seal them.
- Seal it with a matt varnish, and stop. The most common mistake is a second session.
Nothing undoes an hour's weathering like shiny black plastic wheel faces and bright new rail sides. Paint the rail sides a rust brown with a fine brush (keep it off the railhead) and dab the wheel faces to match. It is a twenty-minute job for the whole layout and it makes the biggest single difference to how a photograph of it reads.