The Model Railway Handbook

A free handbook for model railways

A railway is a machine small enough to keep in a spare room.

Two rails, a controlled voltage, and a few hundred grams of rolling metal obeying physics you can see. Everything else — the scenery, the timetable, the little people waiting on the platform — is decoration on top of a mechanism that either works or doesn't. This site teaches the mechanism first.

A 4-6-0 on a two-coach local. Four driving wheels of knowledge: scale, track, power, scenery — in that order.

Three layers, built in this order

Almost every abandoned layout was abandoned because these were done in the wrong order. Scenery over unreliable track is lipstick on a stalling train; a beautiful locomotive on a 2 mm kink will derail in exactly the same place, forever. Get each layer boringly dependable before you start the next.
1. The road

Radius, gradient, turnout number, rail height, joints, and the clearance between two passing trains. This layer is arithmetic. Get it wrong and no amount of skill rescues it — track and plans.

2. The machines

A locomotive is a gearbox, a motor, eight electrical pickups and a coupler at a fixed height. Learn what each part does and a “bad runner” usually turns out to be a five-minute fix — locomotives and stock.

3. The world

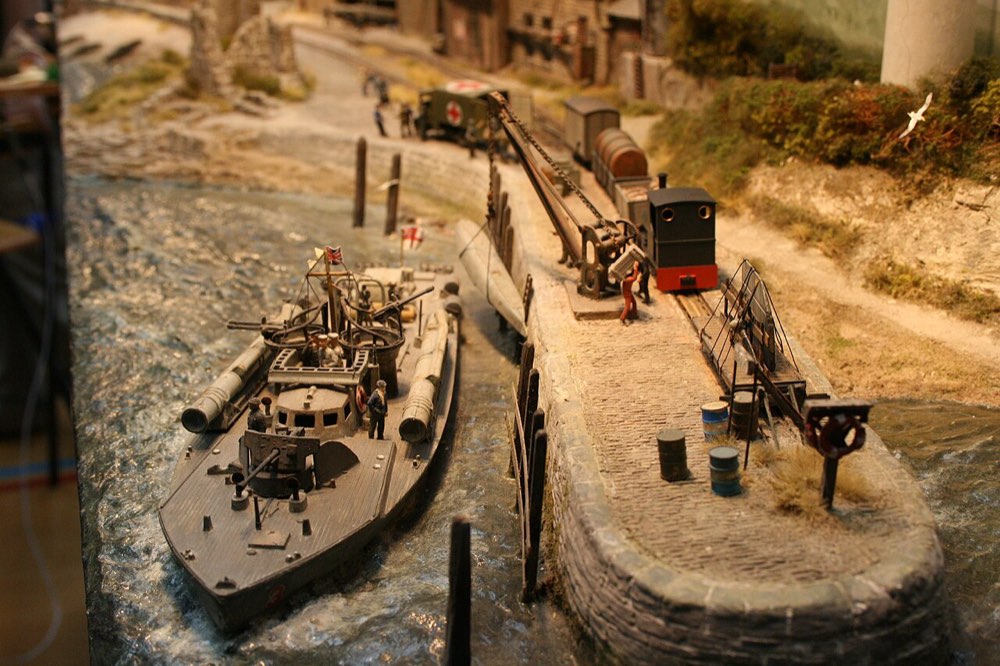
Ground cover, structures, backdrop, lighting, and the reason the railway exists at all: a quarry, a docks, a branch to a market town — benchwork and scenery.

What the parts of a layout are called

This is a 6 ft × 3 ft (1.8 × 0.9 m) plan in HO or OO — about the smallest board on which a train can run continuously and have something to do. Learn these six words and every track plan you ever read becomes legible.

MILL platform R = 18″ main line — the continuous run passing loop (run-round) spur serving an industry 6 ft × 3 ft board edge fiddle yard / cassette →
Every plan on this site is drawn the same way: ballast, sleepers, rails, then the labels. Dashed purple means track that leaves the board.

Main line

The through route. On a small board it is usually an oval so trains can run without you touching anything — sometimes disguised so it doesn't read as a circle.

Passing loop

Two parallel tracks joined at both ends. It lets one train overtake another, and lets a locomotive run round to the other end of its train.

Spur

A dead-end siding into a customer: mill, coal yard, warehouse. Spurs are where the work happens — a layout without them is a train set.

Turnout

The moving track junction. Never call it a “points” if you want American parts, never call it a “switch” in a British shop. Same thing.

Fiddle yard / staging

Hidden or off-board track where trains wait. It turns a loop into a railway that goes somewhere: trains arrive from the rest of the world and return to it.

Benchwork

The furniture underneath. Flat, rigid, and at a height where the trains are near your eyes rather than at your knees — 100–130 cm is the usual band.

Four things beginners get told that are wrong

Not malicious, just old. The hobby's folk wisdom is full of advice that was true in 1975 and hasn't been true since ready-to-run mechanisms and digital control arrived.

Myth

“Start with a train set and a sheet of plywood.”

Half right. Buy the set — it is the cheapest way to own a working locomotive. But the set's sectional track and its 15 inch curves are the two things you will throw away first. Spend the second hundred on decent track, not more wagons.

Myth

“Bigger scale is easier for beginners.”

Bigger is easier to see and handle, and much harder to fit. O scale needs roughly four times the floor area of HO for the same railway. The honest answer is a trade between eyesight, hand steadiness and available metres — the scale guide walks through it.

Myth

“DCC is for experts.”

It was, in 1995. Today a starter DCC system is often simpler than DC: no block switches, no wiring sections, each locomotive answers to its own number. What DCC demands is tidy wiring and a habit of not shorting the rails — power and DCC.

Myth

“You need a whole room.”

A shelf 1.8 m long and 30 cm deep holds a complete switching layout that will occupy you for years, in HO. In N it holds a small terminus and a country junction. Space limits what kind of railway, not whether.

What a first layout actually costs

Rough figures for a 6 ft × 3 ft HO/OO layout bought new in 2026, in US dollars; sterling and euro prices track within about 10%. Second-hand and club sales cut the rolling-stock lines by half or more.

ItemThriftyComfortableWhat you gain by spending more
Locomotive$90$250 All-wheel pickup, a flywheel, a decent gearbox — the difference between crawling smoothly and stalling on every turnout. Sound adds roughly $100.
Rolling stock (6 cars)$70$220 Metal wheels, knuckle couplers fitted, separately applied detail. Cheap wagons can be upgraded later for about $8 each.
Track (flex + 4 turnouts)$120$230 Code 83/75 rail instead of chunky code 100, and turnouts that don't need surgery to run reliably.
Control$60 DC$250 DCC Independent control of several locomotives, sound, lighting, and no section switches to wire.
Benchwork + baseboard$50$140 A hollow-core door or a proper open-grid frame instead of a warping sheet on trestles.
Scenery materials$60$180 Static grass applicator, better ground foams, a printed backdrop, a couple of kit buildings.
Tools you will actually use$45$150 Track gauge, coupler height gauge, rail nippers, a 25–40 W soldering iron, a multimeter.
Total≈ $495≈ $1,420 Spread over a year, the thrifty column is about $40 a month.
Where the money is best spent

Track and turnouts, every time. A £200 locomotive on £40 track runs worse than a £60 locomotive on £150 track, because almost all faults are track faults wearing a locomotive costume.

Where to go from here

Read them in this order if you are starting cold. Dip in anywhere if you are not.

Made in the same workshop

Three other free handbooks, built the same way — hand-drawn diagrams, no accounts, no tracking, and everything readable offline.